Showing posts with label OSW. Show all posts

Monday, November 04, 2013

Blue Plaid OSW -- 2

Yesterday, I posted several Blue Plaid OSW cards. Here are the rest in that series — this group with a nautical theme.

The template I used was designed by Carol Lovenstein, something I found on Pinterest. Part of the plan with these was to use up a bunch of leftover images and make as many cards as possible — for a variety of uses — in a short amount of time. All paper is from DCWV or Recollections, other details noted for individual cards. Click on any image for a larger view.


Stamps: Lighthouse (Calm Seas, Stampin' Up); Happy Birthday (unknown)
Ink: Basic Black, Blue
Accessories: Circle punches (Marvy), Brad


Stamps: Set Sail (SU, retired) ~ Ink: Basic Black
Accessories: Word Window punch, dimensionals,
Computer printed greeting


Stamps: Set Sail, Ephemera (SU, retired); Birthday Basics (PTI)
Ink: Basic Black
Accessories: Word Window punch


Stamps: Set Sail (SU, retired); Birthday Basics (PTI)
Ink: Basic Black
Accessories: Word Window punch


Stamps: Set Sail (SU, retired); Birthday Basics (PTI)
Ink: Basic Black
Accessories: Word Window punch


Sunday, November 03, 2013

Blue Plaid OSW -- 1

Some of you may remember the cards I posted way back at the beginning of October. Most of them were part of a "One Sheet Wonder" set I was working on.

The template I used was designed by Carol Lovenstein, something I found on Pinterest. Part of the plan with these was to use up a bunch of leftover images and make as many cards as possible — for a variety of uses — in a short amount of time. I finally got round to scanning them so I could share. All paper is from DCWV or Recollections, other details noted for individual cards. Click on an image for a larger view.


Stamps: Yukon (Stampin' Up, retired) ~ Ink: Basic Black (SU)
Accessories: Word Window Punch, Computer Printed Greeting


Stamps: Wildlife Reserve, Canvas (SU)
Ink: Basic Black, Not Quite Navy
Accessories: Word Window (SU) and Circle Punches (Marvy), Computer printed greeting


Stamps: Wildlife Reserve, Canvas
Ink: Basic Black, Not Quite Navy
Accessories: Small circle punch (Marvy)
 
Stamps: Wildlife Reserve (SU); Birthday Wishes (Unknown)
Ink: Basic Black
Accessories: Word Window Punch


Stamps: Wildlife Reserve (SU) ~ Ink: Basic Black
Accessories: Word Window Punch, Computer printed greeting, Circle punches (Marvy)
 

Stamps: Wildlife Reserve, Canvas (SU)
Ink: Basic Black
Accessories: Word Window and Circle punches, Computer printed greeting


Stamps: Dog (Inkadinkado) ~ Ink: Basic Black
Accessories: Word Window Punch, Computer printed greeting


More OSW cards to follow on Monday!


Sunday, October 06, 2013

For you


Another OSW card, though I've not completed the rest of this set. This one was quickly finished for a weekend birthday. Paper: DCWV, Wausau Paper. Accessories: Dimensional sticker.


Saturday, October 05, 2013

World Cardmaking Day 2013

In honor of World Cardmaking Day (today!), I thought I would share a few of the many cards created recently. Four of these are part of a One-sheet Wonder (OSW) collection made using a template found on Pinterest, designed by Carol Lovenstein. You can find it here. All paper is DCWV, Wausau Paper (white), and Recollections.


Clean and Simple card
Stamps: Birthday Basics (CSS)


Blue Plaid OSW, Computer-printed greeting


Blue plaid OSW
Stamps: Wildlife Reserve (SU)


Blue Plaid OSW
Stamps: Set Sail (SU)


Blue Plaid OSW
Stamps: Birthday Basics (CSS)


Saturday, March 30, 2013

2013 Easter Cards - Part 2

Here are more of the Easter cards made this year. As mentioned yesterday, I used this template, created by Kathy at Splitcoaststampers, to make both Easter and birthday cards this month. One Sheet Wonder (OSW) templates are a great way to create a lot of cards in a short amount of time. You can see her beautiful samples here.

As her template was for a 6x6 sheet of paper yielding six cards, and my paper was actually 8x8, I netted 10 to 12 cards per sheet of designer paper. You can also see them on her blog.  

Here are another five examples of the cards made. Remember: I had multiples of some designs. Oh--for some reason the teal designer paper in the bottom two photos looks lighter than the first three pics, but it is in fact the same paper.


Here are close-ups of the two cards shown above:


STAMPS: None
PAPER: Cafe Mediterranean (DCWV)
INK: None
ACCESSORIES: Paper flowers (Hero Arts and Prima), Brads, Grosgrain ribbon, Computer-printed greetings, Word Window punch (Stampin' Up)


Friday, March 29, 2013

2013 Easter Cards - Part 1

I thought I'd share some of the Easter cards made this year. I used this template, created by Kathy at Splitcoaststampers, to make both Easter and birthday cards this month. One Sheet Wonder (OSW) templates are a great way to create a lot of cards in a short amount of time. You can see her beautiful samples here.

As her template was for a 6x6 sheet of paper yielding six cards, and my paper was actually 8x8, I netted 10 to 12 cards per sheet of designer paper. You can also see them on her blog.  

Here are a few of my creations. There are only five photos this post, but I had multiples in some designs.


STAMPS: None
PAPER: Cafe Mediterranean (DCWV)
INK: None
ACCESSORIES: Paper flowers (Hero Arts and Prima), Brads, Grosgrain ribbon, Computer-printed greetings, Word Window and Ticket Corner punches (Stampin' Up), Embroidery floss


Sunday, November 29, 2009

3x3 Just Fishy


A one sheet wonder set of 3x3 gift cards, plus a couple 2.25 x 2.25 inch cards. These were created by randomly stamping the different fish images on a 8.25x11 piece of white cardstock. I then cut the image panels down to 2.5 inches and matted on 2.75 inch square pieces of scrap cardstock. For smaller cards the image panels are 1.75 inches square and matted on 2 inch scraps.

Stamps: Just Beachy (Stampin' Up)
Paper: DCWV
Ink: Old Olive, Ruby Red, More Mustard, Chocolate Chip, Only Orange, Really Rust


Saturday, July 04, 2009

Let Freedom Ring

Happy 4th of July!

I hope everyone is enjoying a safe and happy holiday.

Yesterday I posted two fourth of July cards made for this week's SCS sketch challenge. Today I share what most of the cards sent out looked like. First, I started with my new "Let Freedom Ring" set from Papertrey.


I started by positioning several of the stamps on my largest acrylic block. My apologies for the poor image quality, but I do not have a digital camera and clear stamps on acrylic do not scan very well. Still, I think you get the gist of it.


Next, I stamped those images repeatedly on a sheet of 8-1/2 x 11 inch white cardstock in Real Red, basically making my own designer paper, or what stampers call a "one sheet wonder," so that it looked like this:


Next came the cutting. I had intended to use that week's card sketch from SCS, SC234, but it just looked too plain and blah. So...I pulled out these eagles I already had stamped up, matted them, and positioned them in the lower right corner, popping them up for dimension. Looked much better, in my opinion. White brads in the upper left corner helped balaance out the finished cards.


Stamps: Eagle (Wildlife Reserve--Stampin' Up), OSW image (Let Freedom Ring--Papertrey)
Paper: Cherry Splash (Bazzill), Kraft and Navy (Wausau Papers), White (Xerox cardstock), designer paper (DCWV)
Ink: Navy Blue, Real Red
Accessories: Oval Punches (Marvy), Brads (Hot Off the Press)


Sunday, December 24, 2006

2006 Christmas card

Over the past couple of months I've shared some of the Christmas cards I made for troops, as well as the one I designed for a friend of mine. Well...here at last is *my* Christmas card for 2006. It is a tri-fold card, and if you visit this blog or my SCS gallery with any frequency you may recognize the design as combining the One Sheet Wonder (OSW) technique with that of one of the sketch challenges.

All products were by Stampin' Up! and I began by stamping up a full sheet of very vanilla cardstock with some of the images from Reindeer Print (2005 Holiday Mini) and the snowflake from Holiday Tag Time. Ink colors used are real red, certainly celery, always artichoke, more mustard and so saffron. The key to doing a OSW is not to be afraid to fill up the entire cardstock. When stamping the small snowflake, holly and greeting I stamped each two or three times before reinking so there would be subtle shading differences. This is what a sheet looked like after stamping, and before cutting:


I used certainly celery for the card base, cutting and folding for a normal 4-1/4" wide x 5-1/2" high card, then scored the front at 2-1/8" and folded it back towards the left hand side to create a tri-fold card.


Next, I used my Fiskars paper trimmer to cut 2" x 5-1/4" strips in real red, then cut the OSW pages to 1-7/8" x 5" -- I kept these pieces in order as I cut them so that, when I adhered the stamped vanilla pieces to the red panels, split images would match up on opposing panels (see example top right in next picture). I attached the vanilla strips to the red panels, working in pairs and with the inside edge of each panel flush so that they matched up when adhered to the certainly celery base (see bottom example of next pic).


At this time I also cut 1-1/2" strips of 1/4" wide red grosgrain ribbon, which were adhered about 2" from the top of the left hand side of the OSW strips.


Setting those aside, it was time to cut squares for matting. The very vanilla are 2" square, the certainly celery 2-1/4" square, and the real read 2-1/2" square. Trees from Reindeer Print were then stamped in center of very vanilla square using real red ink, then were mounted on the celery square, and then the red.


Next came the tricky part -- centering the image. Mono-adhesive was applied to the left side only of the square image, then centered on the card. This had to be done carefully to ensure that the mono did not stick to the right side of the card, or it would not open. Here is the final product:


Monday, September 18, 2006

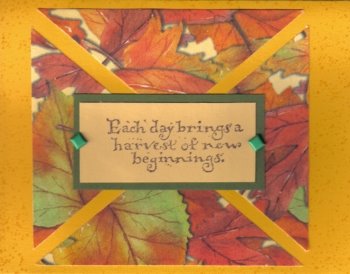
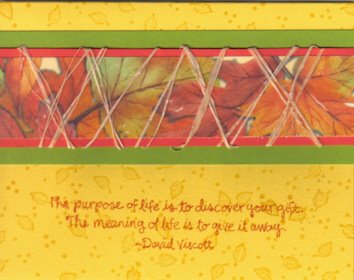
Harvest OSW

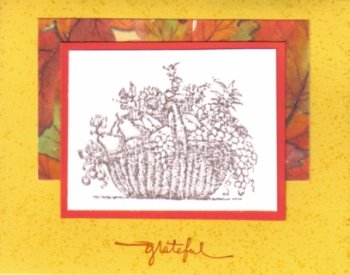
Yes, I managed to make another batch of "one sheet wonder" cards Sunday afternoon while watching football -- a game I refuse to discuss out of disgust. I could have easily done another ten cards, but instead opted to work on a counted cross-stitch project (a Christmas present for a friend) while watching a movie. I used a different OSW template for cutting the pieces for this set and must admit I like it -- and the results -- much better than the one used Saturday.

I think the paper used with this set is from Hot Off The Press (HOTP). You don't want to know how many of their patterned paper books I have. Really, it's a bit scary to contemplate. Other details for the set are as follows:
Cardstock: Summer Sun and Yoyo Yellow from Stampin' Up.

Ink: Basic Brown, Elegant Eggplant, Pumpkin Pie, Yoyo Yellow from Stampin' Up.

Stamps: Quotes to Live By, Itty Bitty Backgrounds, Petite Patterns, Small Script, Peaceful Pastoral, Thanksgiving Blessings, all from Stampin' Up; small cornucopia by PSX.

Accessories: Brads, Raffia


Sunday, September 17, 2006

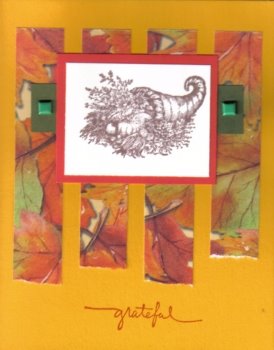
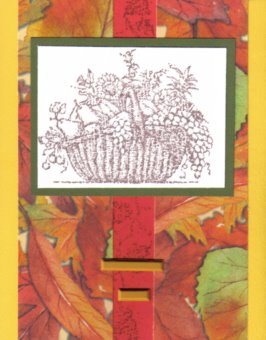
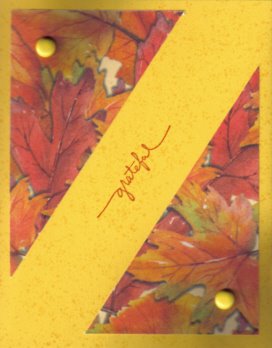
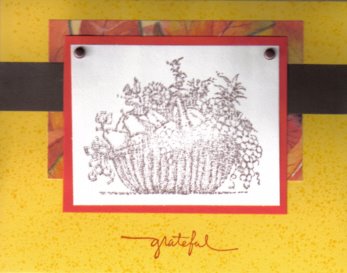
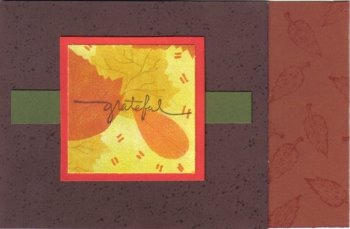
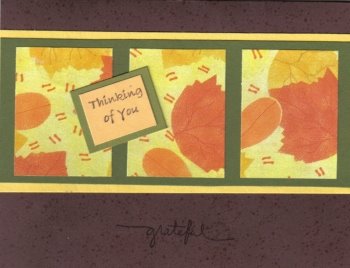
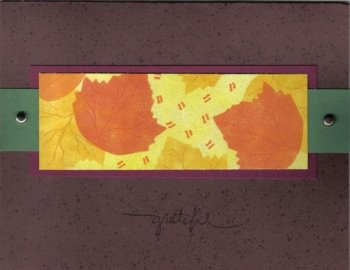
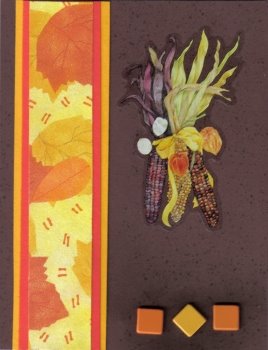
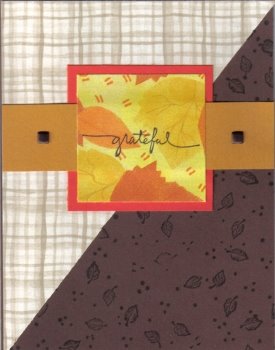
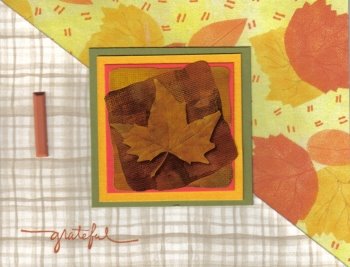
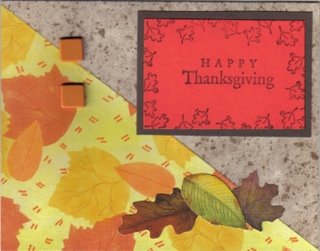
Grateful OSW cards

This is how I spent my Saturday -- or at least a part of it. I went to the bank and grocery store in the morning...came home, started a pot of stew, then threw in some laundry before the Badger football game started (Badgers are now 3-0, yay!). Yes, all of these were made while watching football, doing laundry and cooking. I know -- I'm sooo multi-talented.

I wanted to add to my stash of Thanksgiving cards to be sent to troops overseas, and the OSW technique is great for mass-producing cards that are similar but not quite the same. This is a variation of the "one sheet wonder" technique. Traditionally, one would take a white or vanilla piece of 8-1/2 x 11 or 12 x 12 cardstock and, using a variety of stamps, create your own patterned paper, which would then be cut into different lengths or shapes to use in a number of different cards. You can see samples of such in my previous posts here and here.

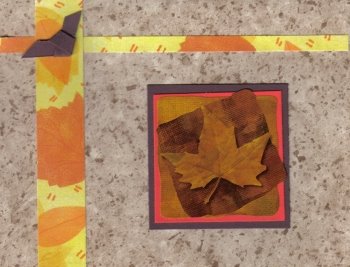
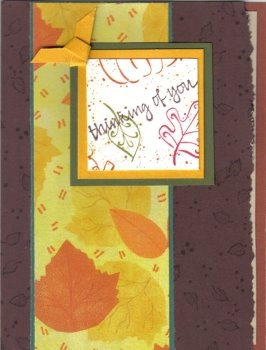
For today's cards I decided to use a sheet of fall patterned paper instead of using fall stamps, which I haven't much of anyway. I have heaps of patterned paper and no matter how much I use in scrapbooks and cards, the mountain never seems to dwindle. I chose a sheet of yellow and orange leaves, which I admit to not liking very much, part of a bulk pattern pack from Current, Inc received years ago, and set to work, using up scraps of orange and green cardstock as well. All cards measure 5-1/2 x 4-1/4 inches unless otherwise noted and fit an "invitation" size envelope.

Cardstock: SonBurn and Stampin' Up. Patterned paper from Current Inc and Creative Memories.

Ink: Pumpkin Pie, Chocolate Chip, Basic Black from Stampin' Up.

Stamps: Itty Bitty Backgrounds, Small Script, Petite Patterns, Lovely as a Tree, All Year Cheer III, Fall For All, and Fall Whimsey by Stampin' Up; Square "Thinking of You" by Endless Creations Inc; long "Thinking of You by Savvy Stamps.

Stickers: Sandy Lion; Me & My Big Ideas.

Other: Brads; paper ribbon; diecuts from Creative Memories; deckle scissors from Fiskars.


This card is a bit smaller than the traditional sized card, measuring 3-1/2 x 5-1/2 inches, and fits a standard size envelope. It opens by lifting it to the left.

Another smaller one, measuring 3-1/2 x 5-1/5 and technically not a OSW, since it uses none of that leaf pattern paper. It does, however, use castoff bits from other cards -- those four deckled squares were cut from the edges of this card and the first one posted.

Not a bad way to spend a cold, blustery afternoon watching football, no? Who knows what I might accomplish during tomorrow's today's Packer game!